
Rescuing A Failing Retaining Wall in Lombard, IL: A Journey with Mission Brick Paving and Unilock Estate Wall™
At Mission Brick Paving, we take pride in our ability to transform outdoor spaces and solve challenging landscaping issues. Recently, we encountered a project in Lombard, Illinois, that tested our skills and showcased our expertise: rescuing a failing retaining wall and replacing it with a new, robust structure using Unilock's Estate Wall™ system.
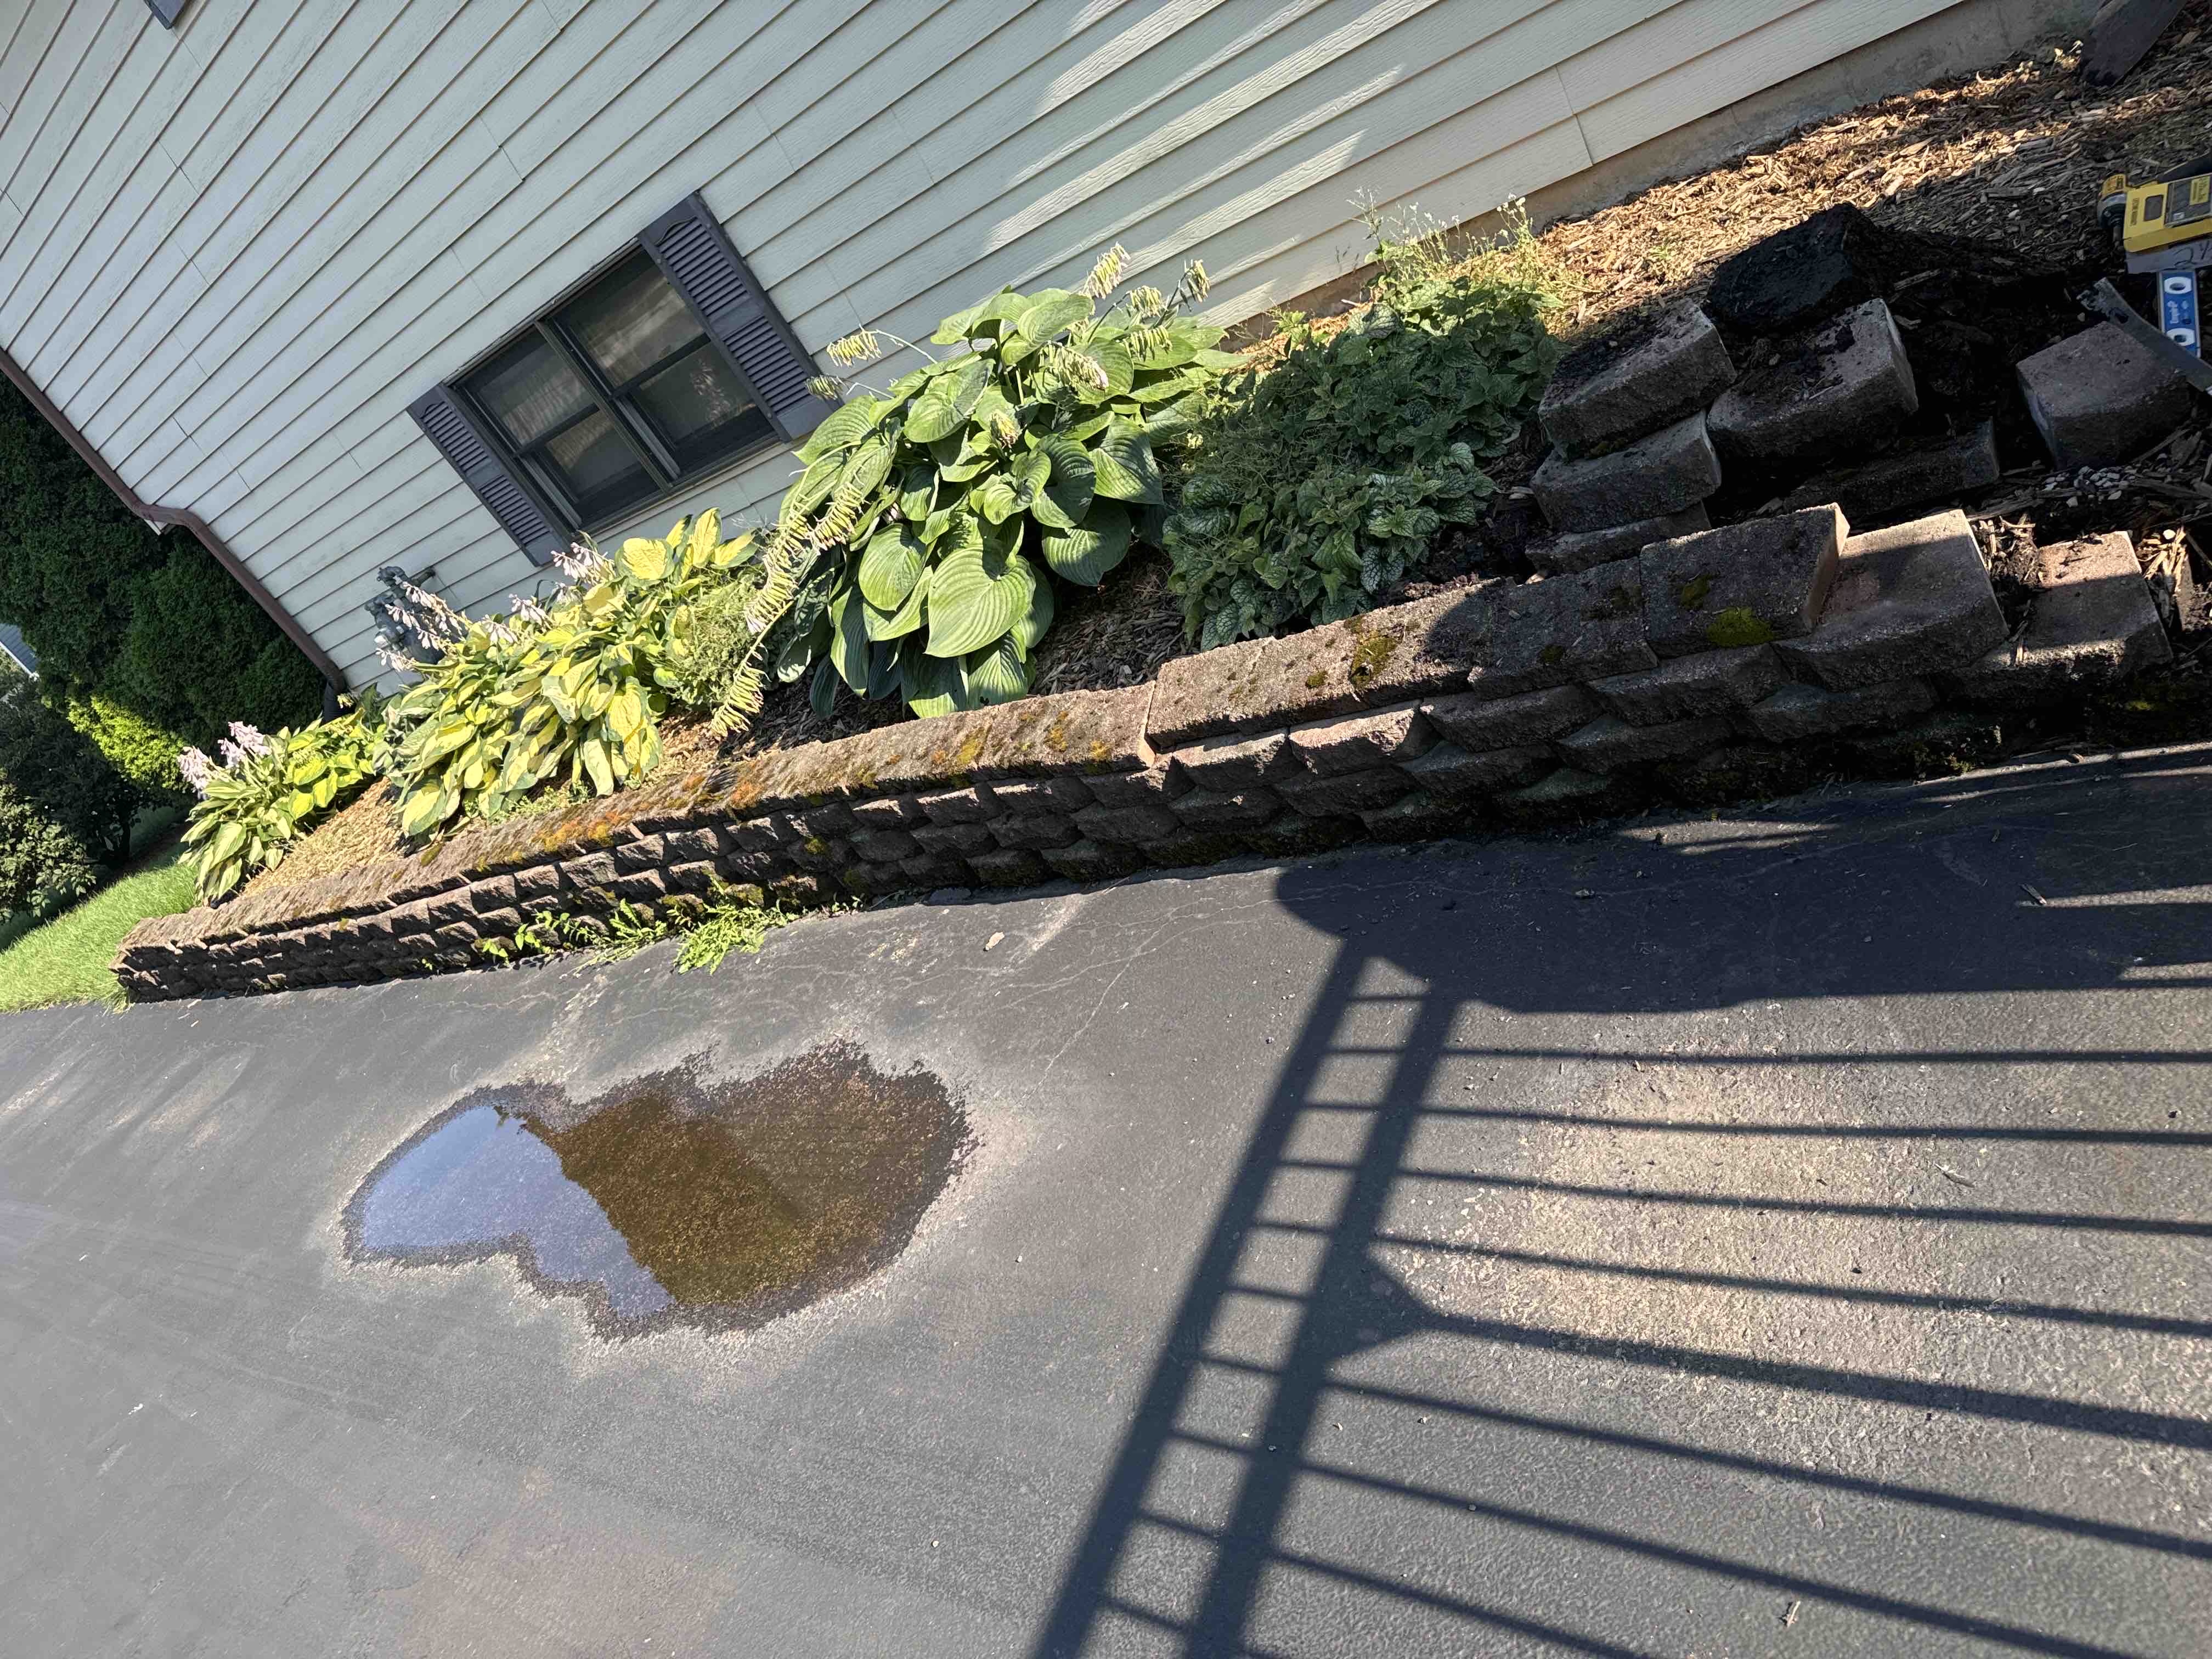
THE PROBLEM: A FAILING RETAINING WALL
Our journey began with a call from a homeowner in Lombard who was concerned about their retaining wall. This wall, originally constructed over a decade ago, had started to show signs of significant wear and structural failure. Large cracks had appeared, sections were bulging, and the wall was leaning dangerously. These issues not only compromised the aesthetic appeal of the landscape but also posed a safety risk to the property.
INITIAL ASSESSMENT AND PLANNING
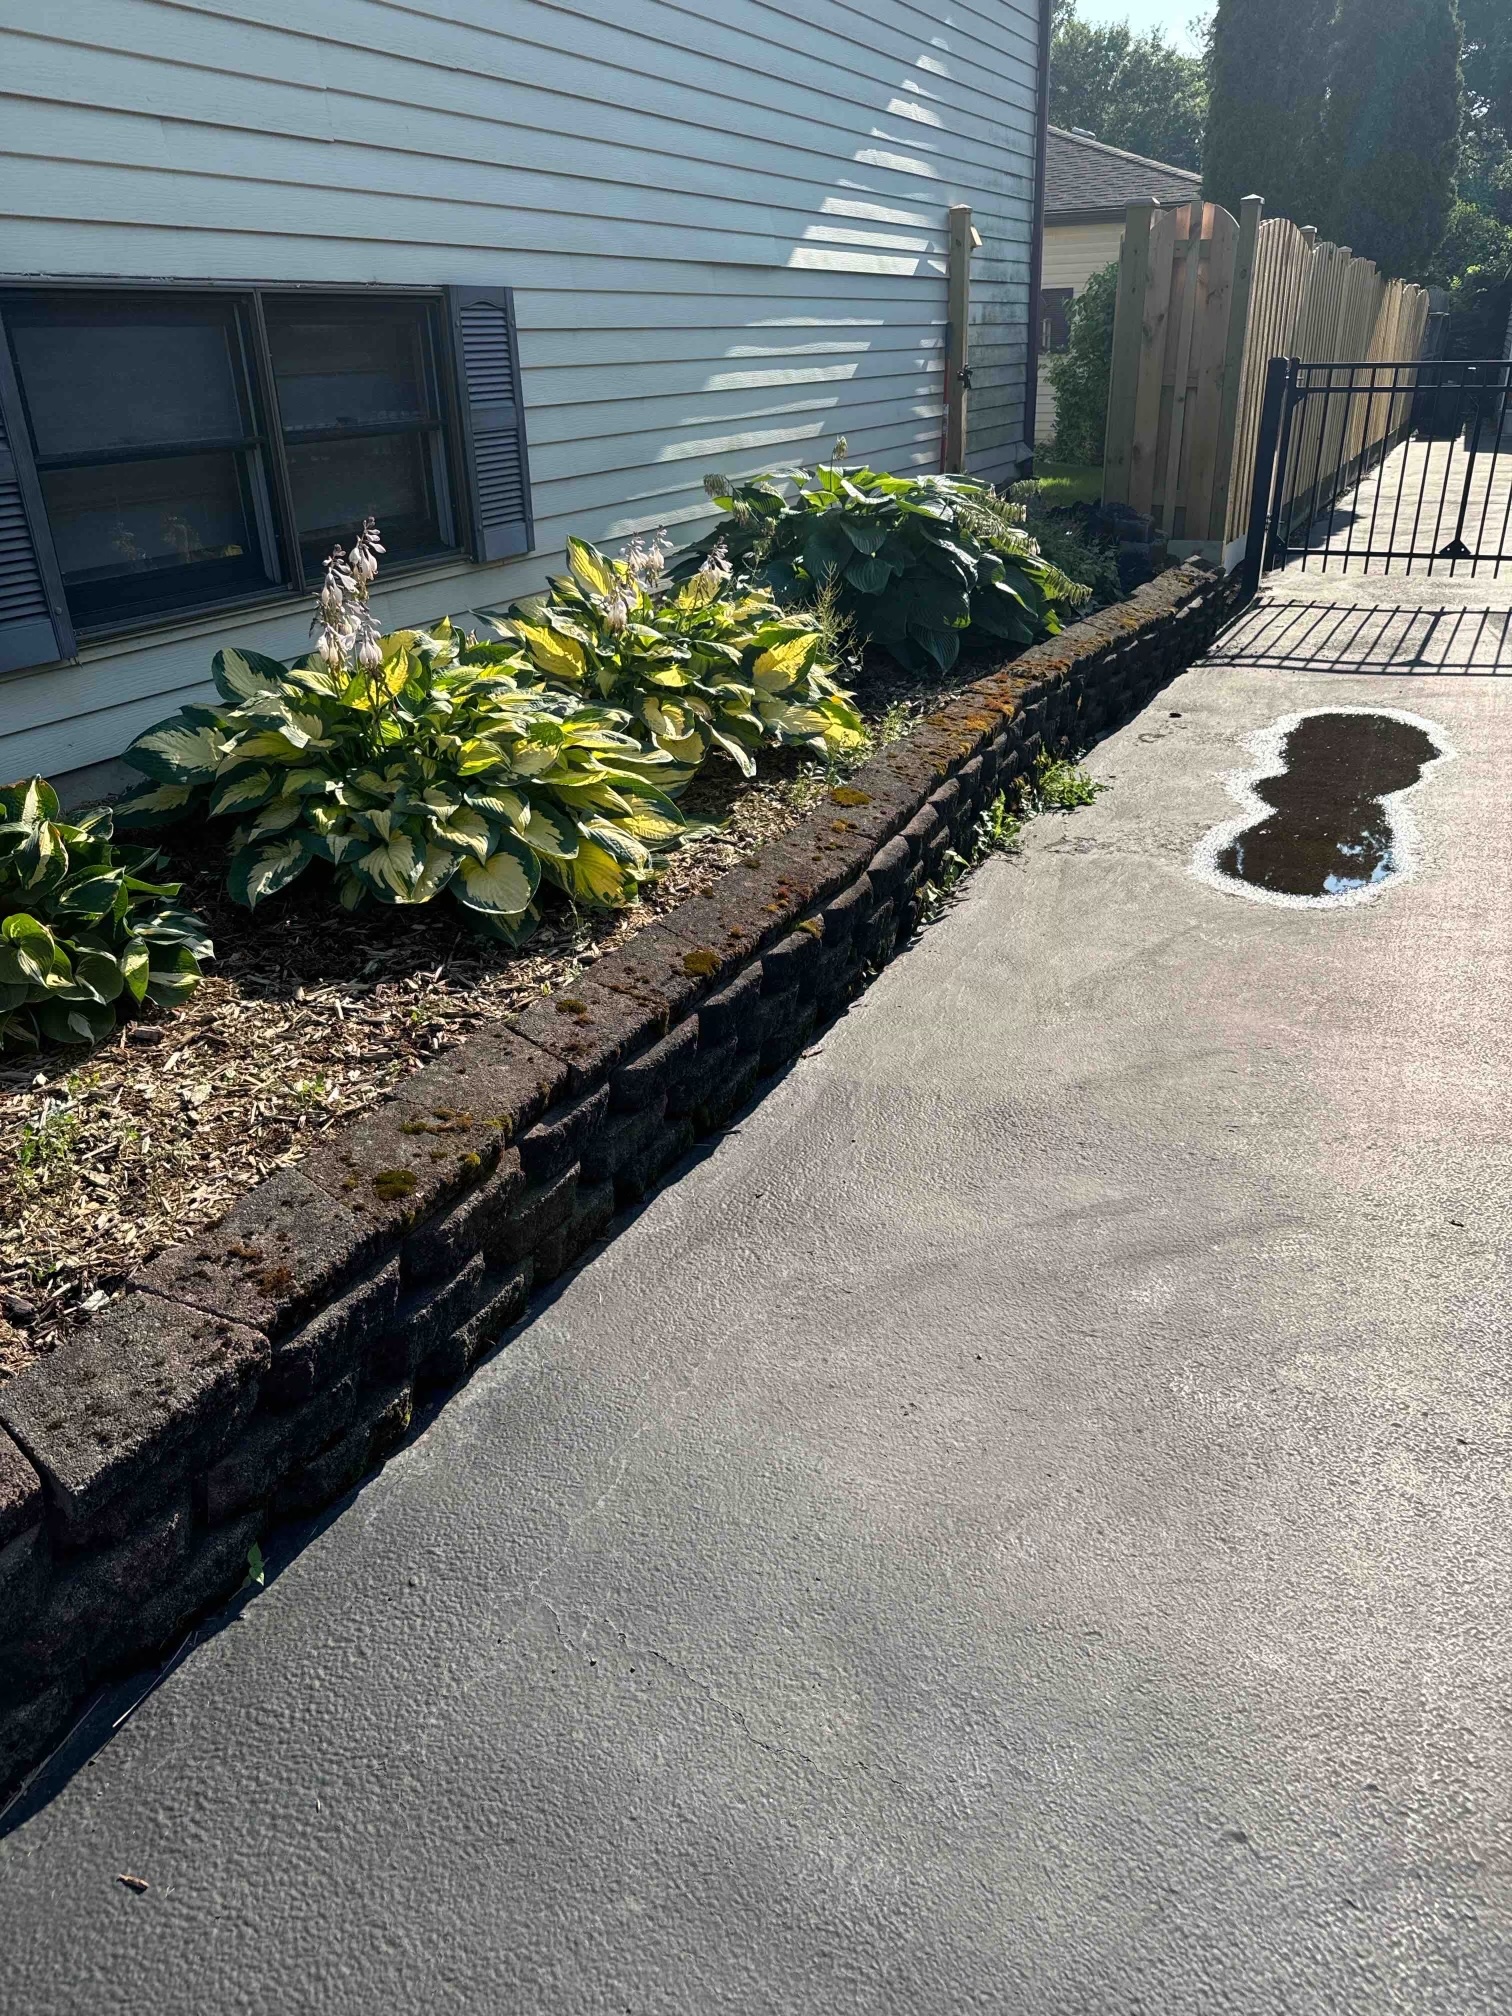
Our first step was to conduct a thorough assessment of the existing wall. Upon inspection, we discovered several factors contributing to its deterioration:
1. Poor Drainage: The original wall lacked a proper drainage system, causing water to accumulate behind it. The hydrostatic pressure was a primary cause of the wall's bulging and cracking.
2. Substandard Materials: The materials used in the initial construction were not suitable for a long-lasting retaining wall, leading to premature failure.
3. Inadequate Foundation: The foundation of the wall was shallow and poorly constructed, contributing to its instability.
After identifying these issues, we discussed potential solutions with the homeowner. We recommended replacing the old wall with a new one constructed from Unilock's Estate Wall™ system, renowned for its durability, aesthetic appeal, and structural integrity.
THE SOLUTION: UNILOCK ESTATE WALL™
Unilock’s Estate Wall™ was the perfect choice for this project. Known for its timeless beauty and rugged durability. It is designed to mimic the appearance of natural stone, making it an excellent fit for any landscape design. Additionally, its unique design allows for easy installation and ensures long-term stability.
THE CONSTRUCTION PROCESS
With a plan in place, we began the construction process. Here’s a detailed look at each step involved:
1. Demolition and Site Preparation
The first phase involved demolishing the existing wall. We carefully dismantled the failing structure, ensuring the safety of surrounding areas.
This process included:
- Removing Old Materials: We removed all the old wall materials and debris, taking care to recycle as much as possible.
- Excavation: We excavated the area to prepare for the new wall's foundation. This step involved digging a trench that would serve as the base for the new retaining wall. The trench was wider and deeper than the original to ensure a more stable foundation.
2. Building a Solid Foundation
A strong foundation is crucial for the longevity of any retaining wall. For the Estate Wall™, we followed these steps:
- Installing a Base Layer: We laid a base layer of crushed stone (gravel) in the trench, ensuring it was well-compacted and level. This base layer helps with drainage and provides a stable platform for the wall.
- Geotextile Fabric: We installed a geotextile fabric between the soil and the gravel base. This fabric prevents soil from mixing with the gravel, maintaining proper drainage and reducing hydrostatic pressure.
3. Constructing the Retaining Wall
With the foundation prepared, we began constructing the retaining wall using the Estate Wall™ blocks. The process included:
- Laying the First Course: The first row of blocks is the most critical. We placed the blocks on the compacted gravel base, ensuring they were level and properly aligned. This initial course serves as the foundation for the entire wall.
- Stacking Subsequent Courses: Once the first course was in place, we began stacking subsequent courses of Estate Wall blocks. Each layer was offset from the one below it to create a staggered pattern, enhancing the wall's strength and visual appeal.
- Incorporating Drainage: To address the drainage issues that plagued the original wall, we incorporated a drainage system. This included installing perforated drainpipes behind the wall and covering them with gravel. The pipes directed water away from the wall, preventing hydrostatic pressure from building up.
4. Backfilling and Compacting
As we built the wall, we simultaneously backfilled the area behind it with a mixture of gravel and soil. This step is crucial for stability and drainage:
- Layered Backfilling: We backfilled in layers, compacting each layer thoroughly before adding the next. This process ensures that the soil behind the wall is stable and minimizes settling over time.
- Final Compaction: After the wall reached its intended height, we performed a final compaction of the backfill to ensure everything was securely in place.
5. Finishing Touches
The final phase of the project involved adding the finishing touches to the retaining wall:
- Coping Stones: We installed coping stones on top of the wall. These stones provide a finished look and add an extra layer of protection against water infiltration.
- Sealing: To further enhance the durability and appearance of the wall, we applied a high-quality sealer to the blocks. This sealer protects the wall from the elements and helps maintain its beautiful finish.
- Landscaping: Finally, we re-landscaped the area around the new retaining wall, incorporating plants and mulch to complement the homeowner’s existing landscape design.
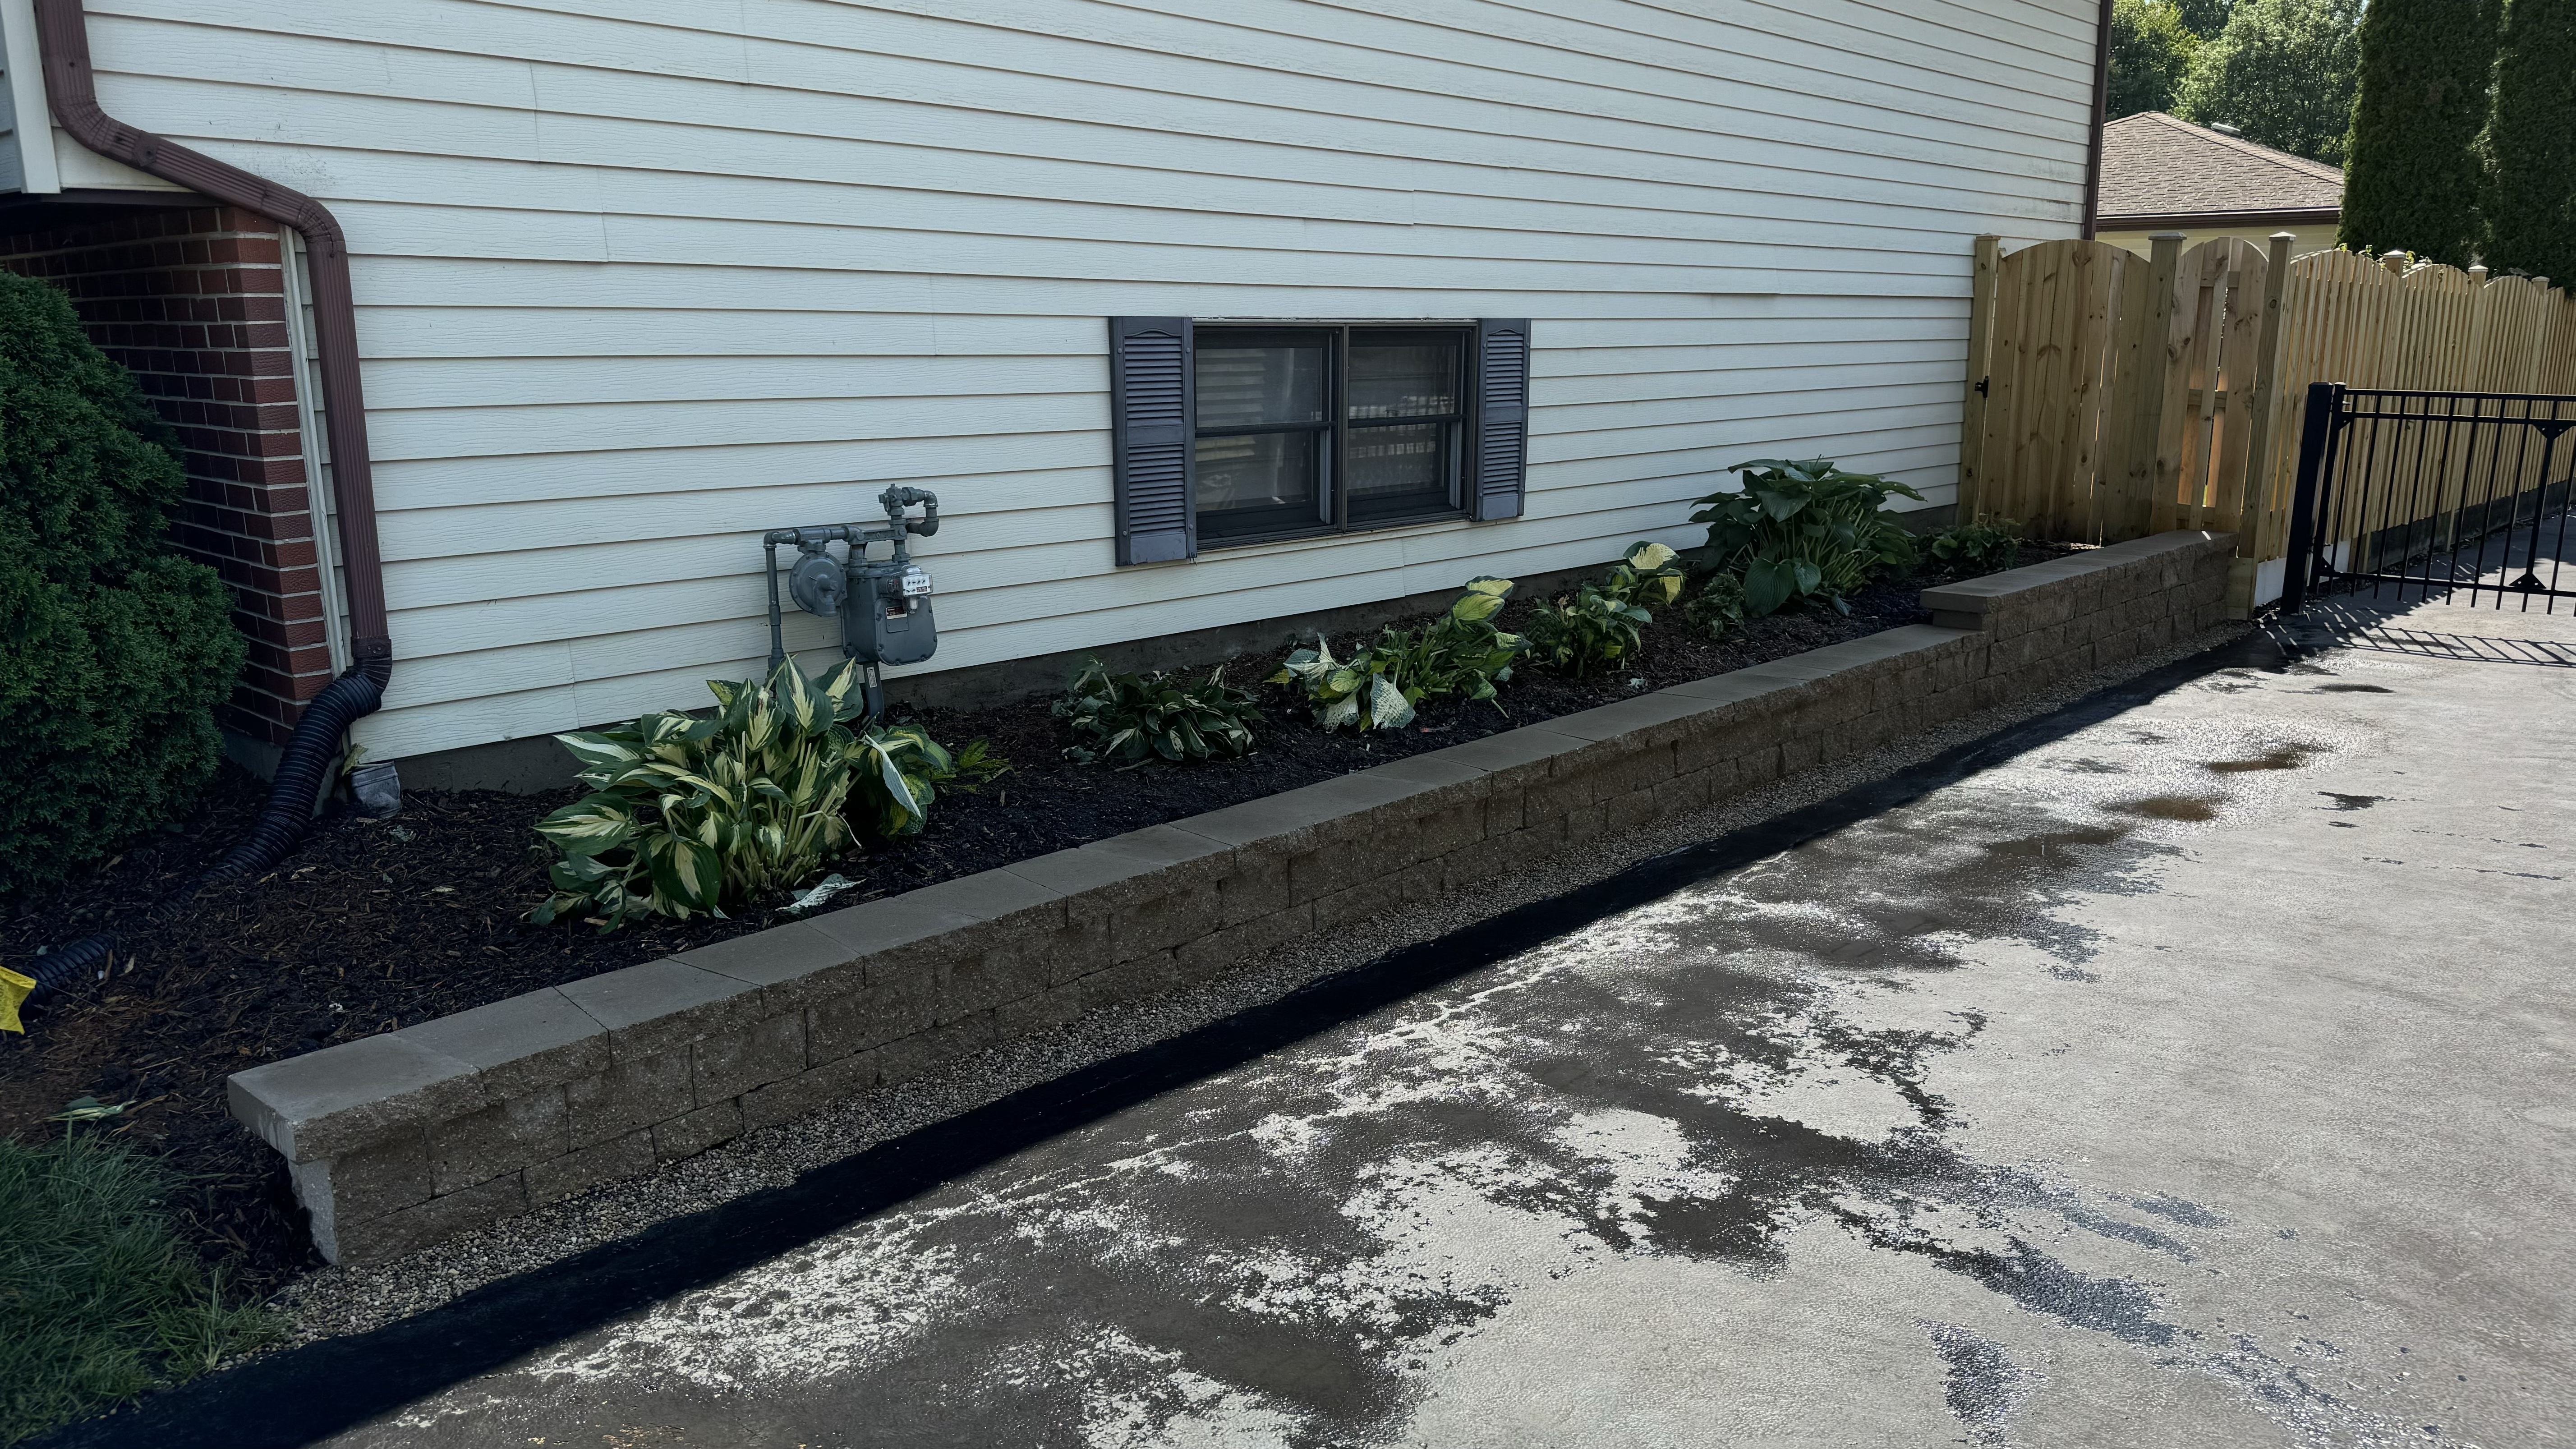
THE OUTCOME: A STUNNING, DURABLE RETAINING WALL
The transformation was remarkable. The new retaining wall not only resolved all the structural issues but also significantly enhanced the visual appeal of the property. The natural stone appearance of the Estate Wall™, blended seamlessly with the existing landscape, creating a cohesive and attractive outdoor space.
The homeowner was thrilled with the results. The wall had a sturdy construction, elegant design, and a better drainage system which ensures better stability, guaranteeing its longevity for years to come.
WHY WE CHOOSE UNILOCK ESTATE WALL?
This project highlighted the many benefits of using the Estate Wall™ system:
- Durability: The blocks are engineered to withstand the elements and heavy loads, ensuring a long-lasting solution for retaining walls.
- Aesthetics: The natural stone look adds a timeless beauty to any landscape, enhancing curb appeal.
- Versatility: The Estate Wall™ can be used for various applications, including retaining walls, garden walls, and more.
- Ease of Installation: The design allows for straightforward installation, reducing labor costs and project time.
CONCLUSION
At Mission Brick Paving, we are dedicated to delivering top-quality results for every project we undertake. Our experience with the failing retaining wall in Lombard, Illinois, and the successful installation of the new wall using Unilock’s Estate Wall™ demonstrates our commitment to excellence and customer satisfaction.
If you are facing similar issues with your retaining walls or looking to enhance your outdoor spaces with beautiful, durable hardscaping solutions, we invite you to contact us. Our team of experts is ready to provide you with the best solutions tailored to your needs.
Location: Lombard, IL
Project Image Gallery
Products Used
Unilock Estate Wall™
Create Your Personal Sanctuary
With Mission Brick Paving In Aurora And Surrounding Areas